In the world of email marketing, a well-designed call-to-action (CTA) button can be the golden ticket to more engaged customers. But creating buttons that work consistently across various email clients can be a real headache, especially with Outlook, which has a history of being picky about HTML buttons.
Fear not, fellow email marketers! This guide will show you how to create bulletproof HTML email buttons that look and work great across all the major email platforms, including Outlook. By using a combination of HTML and CSS tricks, you can make sure your buttons are always ready to help you convert more subscribers into customers.
Table-based buttons
Image-based buttons can be more flexible in terms of design, and they’re easier to use. But they’re also more likely to run into problems because different email clients have different rules about how to display images. To avoid these issues, I recommend using table-based buttons instead. This method uses HTML tables to build the button’s structure and style, which means they’ll look the same no matter what email client is used.
Creating your table-based button
Build the outer wrapper table: This is the table that will hold all the other parts of your button together. Make sure it’s aligned and positioned correctly in your email.
<table align="center" role="presentation" cellpadding="0" cellspacing="0" style="border-spacing:0 !important; border-collapse:collapse; mso-table-lspace:0pt; mso-table-rspace:0pt; margin:auto;">
  <tbody>
    <tr>
      <td class="caples_padded" style="border-collapse:collapse; mso-line-height-rule:exactly; font-family:Helvetica, Arial, sans-serif; font-size:16px; font-weight:bold; color:#121212; word-break:break-word; padding:0;">
        <div id="" class="caples_cos_wrapper caples_cos_wrapper_widget caples_cos_wrapper_type_module" style="color:inherit; font-size:inherit; line-height: inherit;">
          <div id="" class="caples_cos_wrapper caples_cos_wrapper_widget caples_cos_wrapper_type_rich_text" style="color:inherit; font-size:inherit; line-height:inherit;">
              [INNER BUTTON TABLE]
          </div>
        </div>
      </td>
    </tr>
  </tbody>
</table>
Create the inner button table: This is the table that will actually look like a button. Give it a background color and some padding so that the text inside it has some breathing room. This is where you’ll put the text that you want people to click on. Style the cell with CSS to control the font size, color, and padding.
<table align="center" role="presentation" cellpadding="0" cellspacing="0" style="border-spacing:0 !important; border-collapse:collapse; mso-table-lspace:0pt; mso-table-rspace:0pt; margin:auto;">
<tbody>
<tr>
<td class="caples_padded" style="border-collapse:collapse; mso-line-height-rule:exactly; font-family:Helvetica, Arial, sans-serif; font-size:16px; font-weight:bold; color:#121212; word-break:break-word; padding:0;">
<div id="" class="caples_cos_wrapper caples_cos_wrapper_widget caples_cos_wrapper_type_module" style="color:inherit; font-size:inherit; line-height: inherit;">
<div id="" class="caples_cos_wrapper caples_cos_wrapper_widget caples_cos_wrapper_type_rich_text" style="color:inherit; font-size:inherit; line-height:inherit;">
<table align="center" cellspacing="0" cellpadding="0">
<tr>
<td class="button-td button-td-primary" align="center" width="250" height="50" bgcolor="#2CA096" style="-webkit-border-radius:12px; -moz-border-radius:12px; border-radius:12px; border-width:0; color:#FFFFFF; display:block;">
<a href="https://brandoncaples.com/martech/" title="Visit the MarTech blog" class="button-a button-a-primary" style="-webkit-border-radius:12px; -moz-border-radius:12px; border-radius:12px; border-width:0; color:#FFFFFF; font-size:20px; font-weight:bold; font-family:Helvetica, Arial, sans-serif; text-decoration:none; line-height:50px; width:100%; display:inline-block; text-align:center; text-decoration:none; -webkit-text-size-adjust:none;" target="_blank">
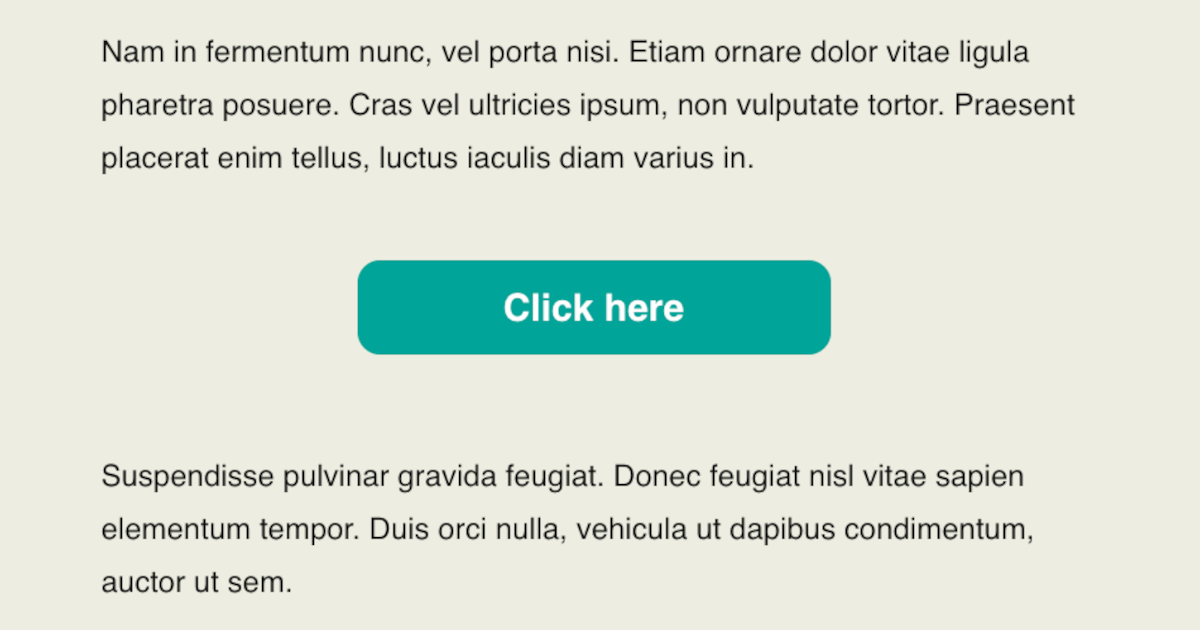
Click here
</a>
</td>
</tr>
</table>
</div>
</div>
</td>
</tr>
</tbody>
</table>Styling your button with CSS
Now that your button is built, it’s time to make it look good. Use CSS to style the different parts of your button, like the background color, padding, border, and border radius. ESPs like Gmail and Yahoo will honor much of your internal CSS, but Outlook requires a lot of inline styling.
Making your button Outlook-friendly
Outlook is a bit of an outlier when it comes to rendering HTML emails, so you need to take a few extra steps to make sure your button looks good for Outlook users.
Outlook tends to add extra padding to table cells, so you need to use inline CSS to override this behavior. Outlook also likes to mess with font sizes and line heights, so be sure to adjust the inline styles accordingly to make sure your button text looks good.
Add some code specifically for Outlook viewers. You should use VML (Vector Markup Language) to create a compatible button that will still look great despite Outlook’s notorious trouble with traditonal button markup. You can target Outlook only by using comments that are ignored by rendering engines other than Microsoft Office (MSO). Begin the commented code with <!--[if mso]> and end it with <![endif]-->.
To avoid seeing two buttons in Outlook versions, you also need to wrap the non-Outlook button code in different comments: <!--[if !mso]> <!--> to start and <!-- <![endif]--> to finish.
<table align="center" role="presentation" cellpadding="0" cellspacing="0" style="border-spacing:0 !important; border-collapse:collapse; mso-table-lspace:0pt; mso-table-rspace:0pt; margin:auto;">
  <tbody>
    <tr>
      <td class="caples_padded" style="border-collapse:collapse; mso-line-height-rule:exactly; font-family:Helvetica, Arial, sans-serif; font-size:16px; font-weight:bold; color:#FFFFFE; word-break:break-word; padding: 0 0 40px;">
        <div id="" class="caples_cos_wrapper caples_cos_wrapper_widget caples_cos_wrapper_type_module" style="color:inherit; font-size:inherit; line-height: inherit;">
          <div id="" class="caples_cos_wrapper caples_cos_wrapper_widget caples_cos_wrapper_type_rich_text" style="color:inherit; font-size:inherit; line-height:inherit;">
            <table align="center" cellspacing="0" cellpadding="0">
              <tr>
                <td class="button-td button-td-primary" align="center" width="250" height="50" bgcolor="#2CA096" style="-webkit-border-radius:12px; -moz-border-radius:12px; border-radius:12px; border-width:0; color:#FFFFFE; display:block;">

                  <!--[if mso]>
                    <v:roundrect xmlns:v="urn:schemas-microsoft-com:vml" xmlns:w="urn:schemas-microsoft-com:office:word" style="height:38px; width:250px; v-text-anchor:middle;" arcsize="30%" stroke="false" fill="true" fillcolor="#2CA096" onmouseover='this.fillcolor="#30475E"'>
                      <w:anchorlock/>
                      <v:textbox inset="0px,0px,0px,0px">
                        <center style="color:#FFFFFE; font-family:Arial, sans-serif; font-size:16px">
                  <![endif]-->

                  <a href="https://brandoncaples.com/martech/2023/bulletproof-html-email-buttons" title="Learn more about HTML email buttons" class="button-a button-a-primary" style="-webkit-border-radius:12px; -moz-border-radius:12px; border-radius:12px; border-width:0; color:#FFFFFE; font-size:20px; font-weight:bold; font-family:Helvetica, Arial, sans-serif; text-decoration:none; line-height:50px; width:100%; display:inline-block; text-align:center; text-decoration:none; -webkit-text-size-adjust:none;" target="_blank">
                    Click here
                  </a>

                  <!--[if mso]>
                        </center>
                      </v:textbox>
                    </v:roundrect>
                  <![endif]-->

                </td>
              </tr>
            </table>
          </div>
        </div>
      </td>
    </tr>
  </tbody>
</table>
Note that the MSO button URL contains more UTM parameters than the other button’s URL. Some email marketing platforms inject URL parameters automatically at the time of sending, allowing for simpler and more efficient email management. However, since our MSO button is contained within comments, the email platform will likely ignore the href attribute and not update it automatically. (This is the case for Salesforce Marketing Cloud.) The safest way to ensure that the MSO button can still be tracked is to add parameters manually.
With a little CSS magic and some Outlook-specific tweaks, you can create HTML email buttons that look great and work perfectly across all the major email platforms. So go forth and create some amazing CTA buttons that will help you convert more subscribers into customers!